
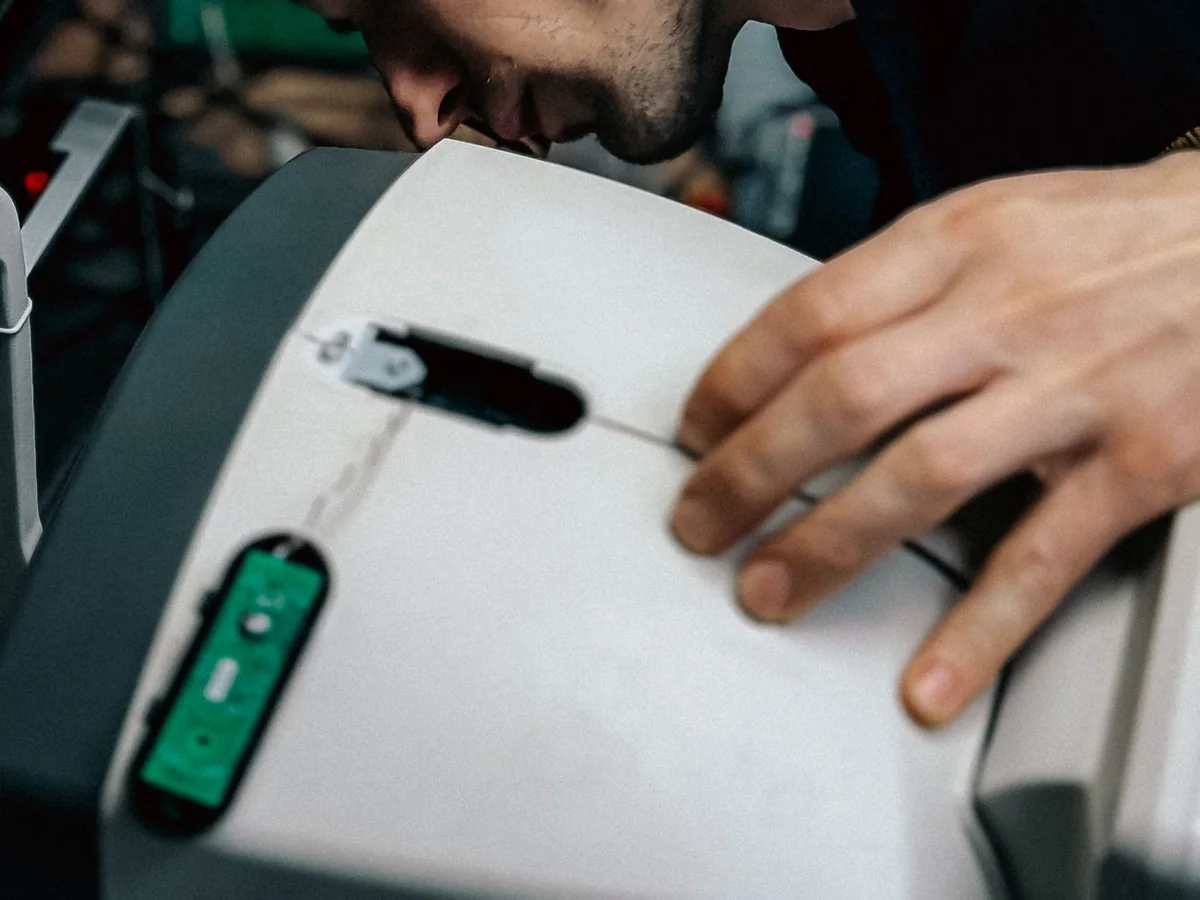
A fiber connector curing oven belongs inside an adhesive and assembly process. The oven configuration cannot be selected responsibly from connector count alone because the adhesive system, connector body, fixture design, loading method and post-cure steps all shape the workflow. Begin with the approved material instructions and the real assembly sequence, then compare equipment against those requirements.
Confirm the material and connector process
Document the adhesive system specified by the product owner and keep its supplier instructions available during equipment review. Identify the connector and ferrule formats, cable construction and any components that affect how an assembly is supported. The required cure profile must come from validated material and product requirements; it should not be inferred from a generic oven setting.
- Approved adhesive and handling instructions
- Connector, ferrule and cable formats
- Mixing, dispensing and staging method
- Required cure-profile source and approval owner
- Post-cure inspection or preparation step
Design the loading and fixture method
Review how operators move prepared assemblies into the fixture without disturbing the adhesive or loading the cable. Ask whether the fixture holds the connector body consistently, keeps cable routing organized and allows safe removal after the cycle. Consider the full load pattern as well as small development runs so the station remains understandable under different work conditions.
- Fixture compatibility with planned connector formats
- Connector orientation and cable routing
- Loading sequence and operator access
- Identification of each batch or work order
- Cleaning and care of fixtures
Control the cycle without inventing settings
The equipment should help the team apply an approved recipe consistently and recognize deviations. Review how authorized settings are stored, how a cycle is started, what the operator sees during operation and how completion is recorded. If alarms, permissions or data export are required, define their purpose in the request. Exact settings remain part of the validated process, not marketing copy.
- Approved recipe selection and access control
- Clear cycle status and completion indication
- Handling of interruption or unexpected conditions
- Batch identity and record method
- Review process before settings are changed
Plan the post-cure handoff
The workflow continues after assemblies leave the oven. Define cooling or staging according to the approved process, then connect the cured parts to the next preparation, polishing, inspection or test step. Keep containers, labels and handling tools close enough that operators do not mix work or place stress on newly processed assemblies.
- Designated unloading and staging area
- Traceable batch or sample identity
- Protected handling before the next operation
- Visual review for obvious process concerns
- Handoff to preparation, polishing or inspection
Prepare a useful quotation request
Send the supplier the connector mix, approved process source, fixture needs, work pattern, available facility information and desired records. Request a configuration review covering the oven, fixtures, accessories, operator guidance, maintenance and training. This gives both sides a concrete workflow to review without substituting unverified settings for engineering approval.
EASONTEC can use the confirmed connector and adhesive workflow to prepare an equipment proposal while leaving process values under the control of the responsible material and product documentation.
Discuss a related project